 Apache维护
 Apache安装
Apache安装
Linux一般会自带httpd服务,但是版本一般不是最新,性能也不是最好,生产中建议手动安装官方源码包,安装Apache官方包之前首先要停止之前的httpd服务,停止后也可以卸载之前的版本
下载最新版本的Apache
解压"httpd-2.4.41.tar.bz2"
进入目录
[root@test /jl/httpd-2.4.41]#
执行写入配置,其中apache2目录不用自己创建,安装过程会自动创建。
checking for working mkdir -p... yes
checking for grep that handles long lines and -e... /usr/bin/grep
checking for egrep... /usr/bin/grep -E
checking build system type... x86_64-pc-linux-gnu
checking host system type... x86_64-pc-linux-gnu
checking target system type... x86_64-pc-linux-gnu
configure:
configure: Configuring Apache Portable Runtime library...
configure:
checking for APR... no
configure: error: APR not found. Please read the documentation.
提示没有APR这个组件,apr的作用就是维护相应的软件安装库,已解决相应的平台缺陷等,之前Apache老版本不会出现这个问题,所以首先安装apr,网址是:http://apr.apache.org/download.cgi,这里包括apr、apr-util、apr-iconv这三个包
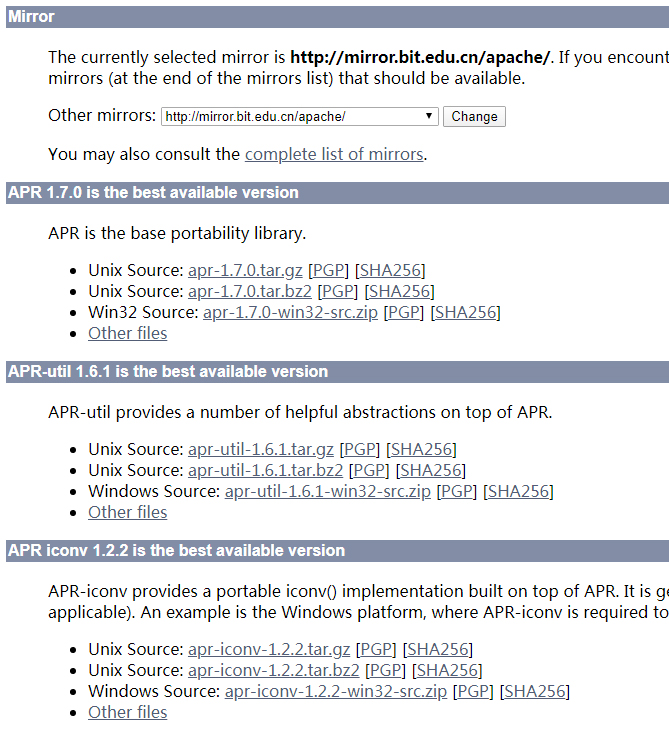
目前只下载前面两个安装就行,即apr和apr-util,下载好之后正式开始安装。
下载apr
安装apr:
[root@test /jl]# cd apr-1.7.0
[root@test /jl/apr-1.7.0]# ./configure --prefix=/jl/apr
[root@test /jl/apr-1.7.0]# make
[root@test /jl/apr-1.7.0]# make install
上面的配置参数--prefix就是指定安装目录,执行没问题稍等一会就安装好了。
继续安装apr-util:
下载apr-util
安装命令:
[root@test /jl]# cd apr-util-1.6.1
[root@test /jl/apr-util-1.6.1]# ./configure --prefix=/jl/apr-util --with-apr=/jl/apr
[root@test /jl/apr-util-1.6.1]# make
编译过程中又出现了一个错误“ [xml/apr_xml.lo] Error 1”,原因是缺少expat库。运行以下命令安装。
完成后继续上面的安装步骤。
[root@test /jl/apr-util-1.6.1]# make
[root@test /jl/apr-util-1.6.1]# make install
上面配置参数的--with-apr表示apr-util安装需要依赖apr,所以指定apr的安装目录,到这里apr-util也安装完成了
然后配置依赖安装Apache:
[root@test /jl/httpd-2.4.41]# ./configure --prefix=/jl/apache2 --with-apr=/jl/apr --with-apr-util=/jl/apr-util
没想到又出错了,看看错误提示:
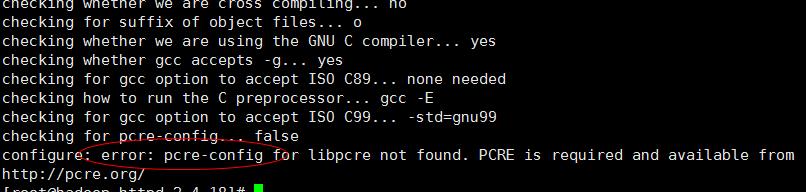
可以看出,少了程序pcre,需要去http://pcre.org/ 获取,那么现在应该访问这个网站下载,进去网站之后很容易就找到下载链接:https://ftp.pcre.org/pub/pcre/
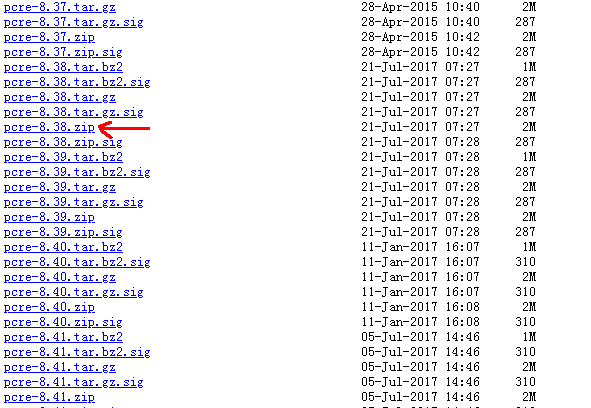
这里下载pcre-8.38.zip这个版本即可,其他的也是没问题的。
下载pcre-8.38.zip到/jl目录
下载成功,安装pcre:
[root@test /jl]# cd pcre-8.38
[root@test /jl/pcre-8.38]# ./configure --prefix=/jl/pcre
[root@test /jl/pcre-8.38]# make
[root@test /jl/pcre-8.38]# make install
到现在,pcre也安装成功了。
现在开始安装apache,进入apache源码包目录,执行命令:
[root@test /jl/httpd-2.4.41]# ./configure --prefix=/jl/apache2 --with-apr=/jl/apr --with-apr-util=/jl/apr-util --with-pcre=/jl/pcre
[root@test /jl/httpd-2.4.41]# make
[root@test /jl/httpd-2.4.41]# make install
依次运行以下命令设置PATH环境变量。
[root@test /jl/apache2]# source /etc/profile.d/httpd.sh
运行httpd -v命令可查看Apache的版本号。

添加Apache的启动配置文件。
运行vi /usr/lib/systemd/system/httpd.service命令,打开Apache的启动配置文件。
按下i键,然后在配置文件中写下如下内容。
Description=The Apache HTTP Server
After=network.target
[Service]
Type=forking
ExecStart=/jl/apache2/bin/apachectl -k start
ExecReload=/jl/apache2/bin/apachectl -k graceful
ExecStop=/jl/apache2/bin/apachectl -k graceful-stop
PIDFile=/jl/apache2/logs/httpd.pid
PrivateTmp=false
[Install]
WantedBy=multi-user.target
按下Esc键,然后输入:wq并回车以保存并关闭Apache启动配置文件。
依次运行以下命令启动Apache服务并设置服务开机自启动。
[root@test /root]# systemctl enable httpd
查看安装结果。
在浏览器地址栏输入服务器的IP地址,若返回页面如下图所示,说明Apache服务启动成功。

Apache安装完毕!